TM 5-3895-346-14
STEERING CONTROL REMOVAL
POWER STEERING
STEERING CONTROL REMOVAL
Before removing the Orbitrol from the vehicle, be certain that the unit, its surrounding area, and the connecting
lines are cleaned free from dirt and contamination. If the vehicle must be moved while the steering control is
off, you will need two 3/8 pipe elbows if the unit is connected with hose or four elbows and two close nipples if it
is connected with tubing. Use the fittings to couple the IN to the OUT line and the L to the R line when these
are removed from the unit. If it is necessary to remove the steering wheel, make sure to use a wheel puller.
Do not hammer the end of the shaft or the steering wheel nut because this disrupts the upper column bearing
which is designed to allow the critical freedom required for satisfactory function. If you must use a hammer,
order a spare bearing and snaprings first.
On some machines it may not be necessary to remove the upper column. Remove the two mounting screws
and lower the entire assembly far enough to provide access to the two screws which fasten the column to the
lower unit.
Observe the shaft area of the lower unit immediately upon removal of the column assembly. If it shows an
appreciably oil-wetted appearance this indicates that the shaft seal may have been leaking.
If there is a functional problem or leakage at the control end of the unit only, the disassembly of the control end
of the unit only will be required and it is generally advisable to leave the seven-bolted end assembled.
If a complete tear down and reassembly of the unit is planned, clean all paint and surface contamination from
the unit at points of separation. This is extremely important at the meter end of the unit so that no paint flakes
or particles will enter these closely fitted parts as they are being reassembled. To clean the unit adequately,
first plug all four ports, then wire brush around the meter area and rinse and blow away all surface
contamination before any disassembly is begun.
For any disassembly, an extremely clean bench area is necessary. Do not use shop cloths or cotton waste to
wipe or clean the parts. The lint deposited by these can disrupt function or cause leaks. The clean inside
surface of a corrugated container is frequently a very adequate assembly surface.
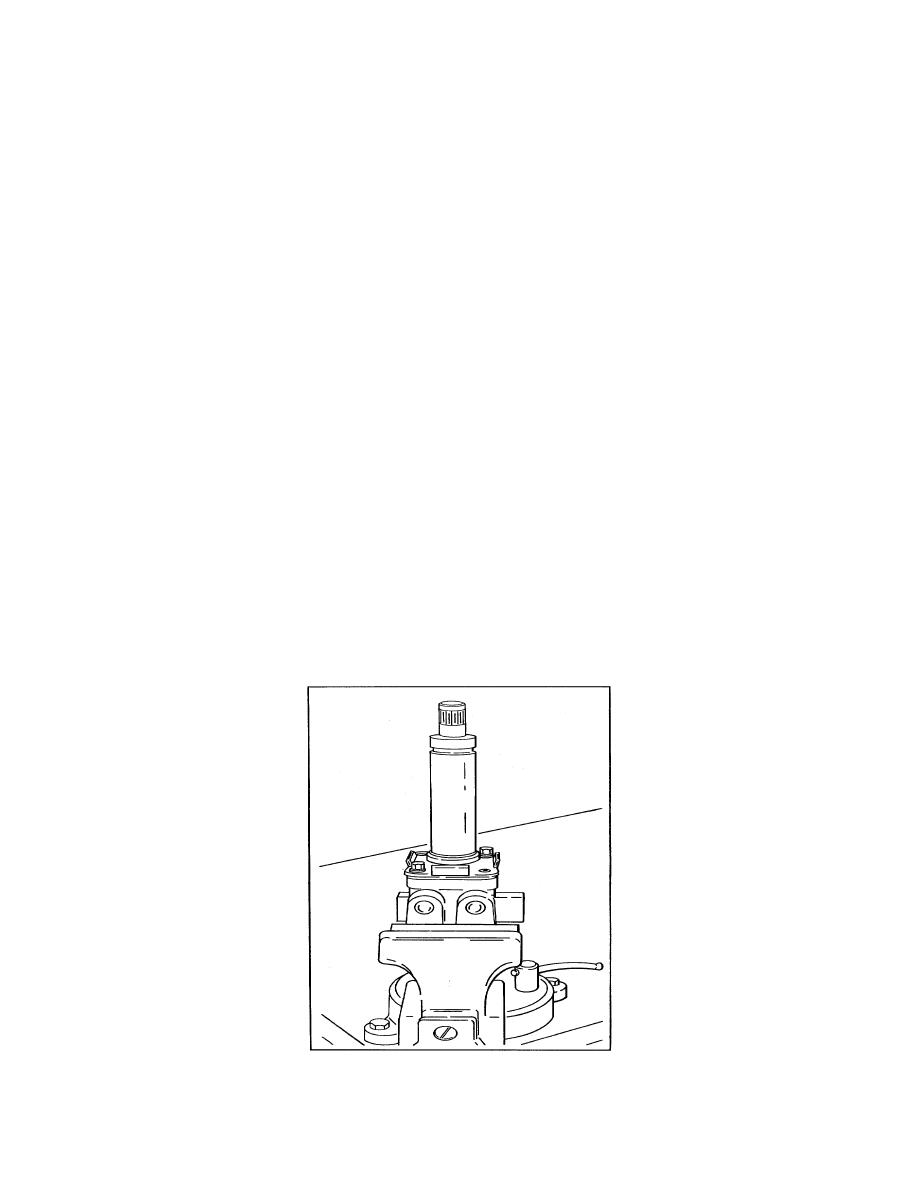
Figure 1.
576


