TM 5-3895-382-24
Yoke & Steer Pivot
Remove & Install Yoke & Steer Pivot 6604-010
Tools Needed
A
8T-5096
Dial Indicator Test Group
1
Start By:
a.
remove drum assembly
NOTE:
Before removing the drum assembly, determine if
the components in the steer pivot need to be
replaced. Perform the following procedures to
check the steer pivot clearances.
Vertical Steer Pivot Clearance
1.
Put the machine on a hard level surface. Stop the
engine, and apply the parking brake.
2.
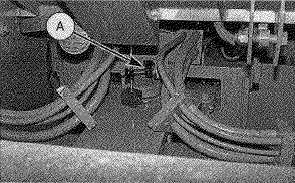
Attach the base of Tool (A) to the top of the steer pivot
housing as shown. Set the dial indicator actuator on the
top of the rear frame.
3.
Set the dial indicator to zero.
4.
Place a hydraulic jack under the rear frame at the steer
pivot assembly.
5.
Raise the hydraulic jack and record the reading on the
dial indicator.
6.
Total vertical movement should not exceed 1.91 mm
(.075 in). If the movement is too much, the clearance
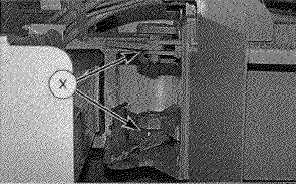
can be reduced by adding spacers at the vertical pin
joints, locations (X). If the movement is too small, the
clearance can be increased by removing spacers at the
vertical pin joints.
7.
If the proper clearance cannot be obtained with the
spacers,
the
steer
pivot
housing
should
be
disassembled. Bushings or any other worn components
should be replaced. With new bearings and shims
installed, total movement should be .13 to 1.14 mm
(.005 to .045 in) on a used machine.
Horizontal Steer Pivot Clearance
Check the horizontal steer pivot clearance as follows:
1.
Put the machine on a hard level surface. Stop the
engine, and apply the parking brake.
2.
Disconnect the wire from the brake solenoid on top of
the brake/shift valve. Refer to Step 3 in the topic
"Brake/Shift Valve" in this module.
3.
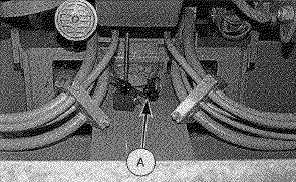
Attach the base of Tool (A) to the top of the steer pivot
housing. Set the dial indicator actuator against the front
face of the rear frame.
4.
Set the dial indicator to zero.
16-47


