TM 5-3895-382-24
9.
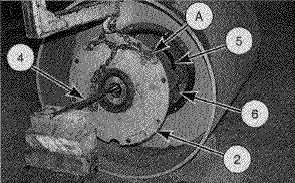
Use a hoist, suitable lifting bracket and Tooling (A) to
position right bearing housing (2) as shown.
10.
Install a suitable pry bar (4) through right bearing
housing (2) and into the end of weight shaft (5). Use
wooden blocks and pry bar (4) to support the weight
shaft.
11.
Remove wooden blocks (6) from under the weight shaft.
12.
Apply 6V-4876 Molycoat Paste Lubricant on the
contact surfaces of weight shaft (5) and the bearing
inside the right bearing housing.
13.
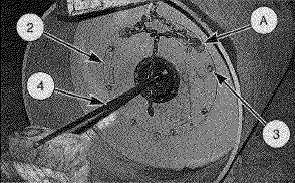
Position right bearing housing (2) on the drum
assembly, and install eight nuts (3). Tighten the nuts to
a torque of 375 ± 48 N· m (275 ± 35 lb-ft). Remove pry
bar (4) and Tooling (A).
14.
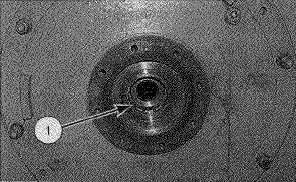
Install the washer, the five rubber mounts and retainer
(1) in the weight shaft.
15.
Use Tooling (C) to check the weight shaft end play. The
end play must be 4.0 2.0 mm (0.16 0.08 in). If the
end play is not correct, disassemble and assemble the
drum assembly again. Verify that the drum assembly
was assembled correctly.
NOTE:
The drum assembly must be flushed before oil is
added. Refer to the topic "Drum Flushing
Procedure" in Special Instruction, SEHS9880.
NOTE:
Fill the drum assembly with oil to the correct
level. See the Operation & Maintenance Manual
for the correct filling procedure.
End By:
a.
Install drum gear reducer
(CS-433C & CP-433C)
b.
Install drum support housing
(CP-433C & CS-433C R.H. Side)
16-46


