TM 5-3895-346-14
MAIN BEARINGS
ENGINE OVERHAUL
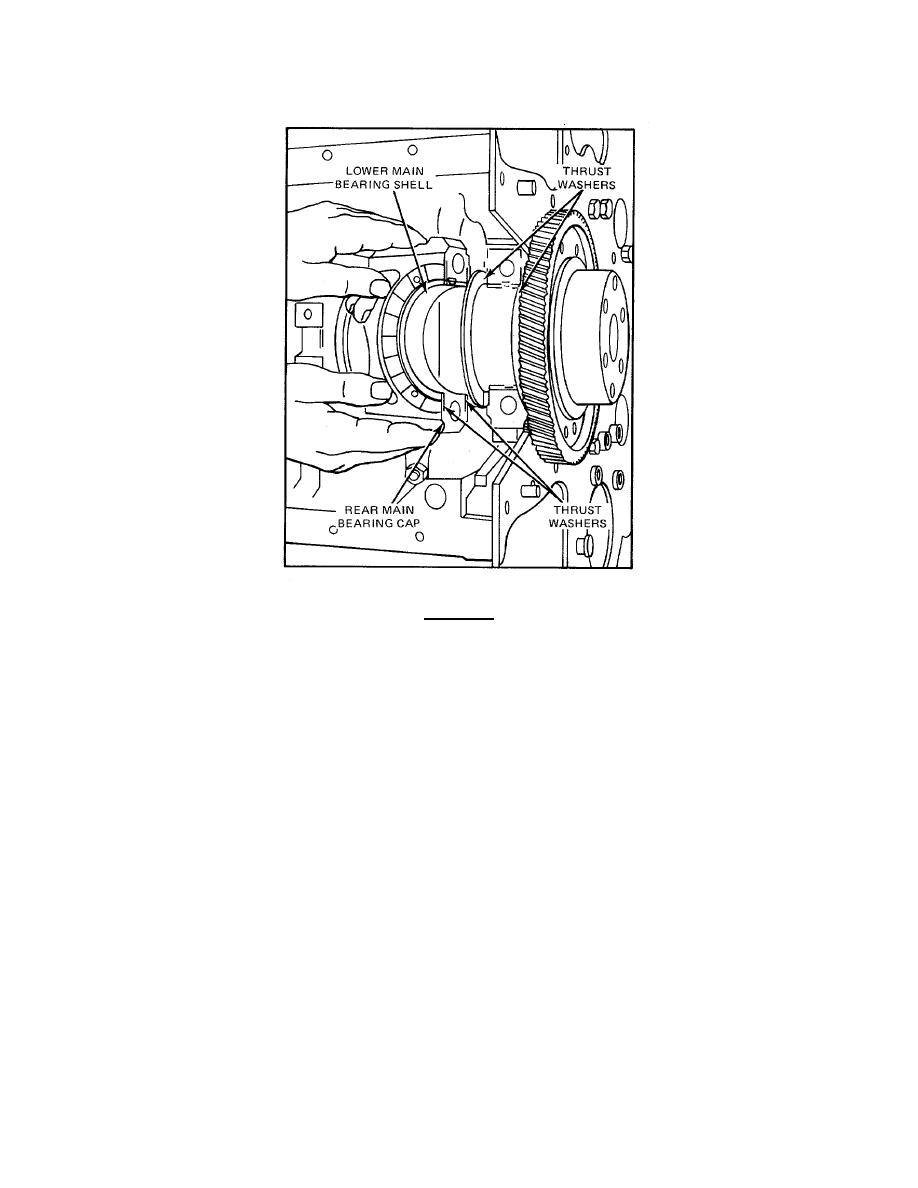
Figure 7. Crankshaft Thrust Washers in Place
CAUTION
The main bearing caps are bored in position and stamped 1, 2, 3, etc. They must be installed in their original
positions with the marked side of each cap facing the same side of the cylin- der block that carried the engine
serial number.
4.
With the lower main bearing shells installed in the bearing caps, apply a small quantity of
International Compound No. 2, or equivalent, to the bolt threads and the bolthead contact area. Install the
bearing caps and stabilizers (if used) and draw the bolts up snug. Then rap the caps sharply with a soft hammer
to seat them properly. Tighten all bolts (except the rear main bearing bolts) to 120- 130 lb ft (163-177 Nm)
torque starting with the center bearing cap bolts and working alternately towards both ends of the block. Tighten
the rear main bearing bolts to 40-50 lb ft (54-68 Nm) torque. Strike both ends of the crank- shaft two or three
sharp blows with a soft hammer to ensure proper position- ing of the rear main bearing cap in the block saddle.
Retorque all bearing bolts to 120-130 lb ft (163-177 Nm).
NOTE
If the bearings have been in-stalled properly, the crankshaft will turn freely with all
of the main bearing cap bolts drawn to the specified torque.
5.
Check the crankshaft end play as outlined under Install Crankshaft.
6.
Install the lubricating oil pump and the oil inlet pipe assembly.
7.
Install the oil pan, using a new gasket.
8.
Fill the crankcase to the proper level on the dipstick with heavy-duty lubricating oil of the
recommended grade and viscosity (refer to Lubricating Oil Specifications).
9.
After installing new bearing shells, operate the engine on a run-in schedule.
124


