
DETROIT DIESEL 53
Fuel Injector 2.1.1
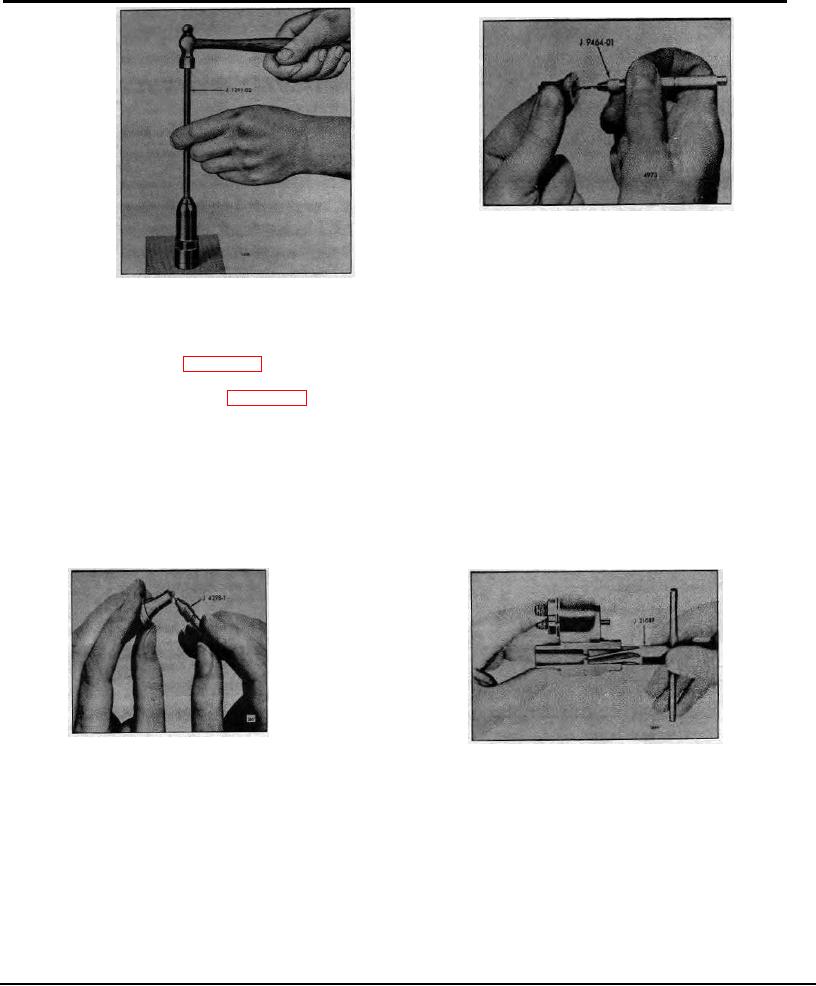
Figure 27. Cleaning Injector Spray
Tip
Fig. 26. Removing Spray Tip
Injector Nut
the specified limits. If the quantity of fuel in the vial does not fall within the specified limits, refer to Trouble Shooting
Chart 6 and Shop Notes in section 2.0 for the cause and remedy.
NOTE: Refer to Section 2.0 for different factors that may affect the injector calibrator output
reading.
The comparator or the calibrator may be used to check and select a set of injectors which will inject the same amount of
fuel in each cylinder at a given throttle setting, thus resulting in a smooth running, well balanced engine.
An injector which passes all of the above tests may be put back into service. However, an injector which fails to pass one
or more of the tests must be rebuilt and checked on the comparator or the calibrator.
Any injector which is disassembled and rebuilt must be tested again before being placed in service.
Disassemble Injector
Fig. 28. Cleaning Spray Tip
Fig. 29. Cleaning Injector Body
Orifices
Ring
If required, disassemble an injector as follows:
1.
Support the injector upright in injector holding fixture J 22396 (Fig. 23) and remove the filter caps, gaskets and
filters.
NOTE: Whenever a fuel injector is disassembled, discard the filters and gaskets and replace
with new filters and gaskets. In the offset injector, a filter is used in the inlet side only. No
filter is required in the outlet side (Fig. 34).
2. Compress the follower spring as shown in Fig. 11.
March, 1973 SEC. 2.1.
Page 13